Creating blog image designs just got easier
* Some articles may contain affiliate links for researched products. There is no extra cost to you and it helps pay for boring stuff like website hosting and plugins.
Recently on Instagram, one of our followers commented that she wanted to be able to write more blogs this year. Getting into the writing groove can be difficult. First there is the challenge of WHAT to write. Once you get past that part, then comes blog formatting. Finally, how do you design to visually break up the post to make sure it is easy to read?
For me, the visual part has been one of the hardest.I also use a certain amount of stock photos from different sites as part of the visual design for my blog posts. I would find it took me a lot of time to get the images just right in my blog posts. There was a lot of fussing with sizes and I would find myself getting frustrated.
As I was writing a post, I’ve explored a few different features that have now eliminated my problem of image sizing. For blog posts, I would often use Pixabay as a source of images. In May of 2019, Canva purchased both Pixabay and Pexels. On the surface, no big deal, right? As a Pixabay user, I didn’t really notice changes in my experience.
While they didn’t change the initial experience, they did add an important feature. Did you know you can download an image straight from Pixabay into your Canva account? While this feature is only available for premium users of Canva, it is a game changer.
Why is this important? Once you have automatically created your image in Canva, you can resize images easily! This allows you to quickly get images into the sizes you want without all the reformatting hassles. So how do you do this? There are four quick steps to this process.
Four easy steps to image creation
Step 1: Search for image to download
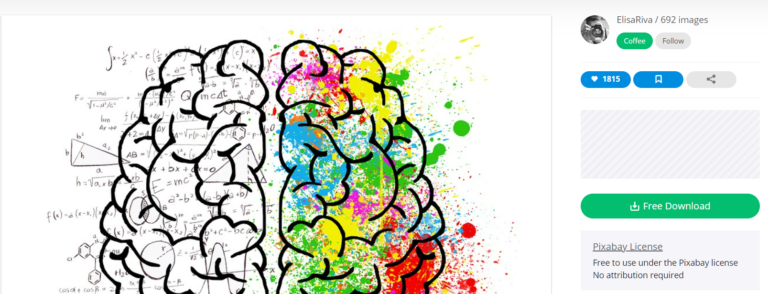
First, find an image on Pixabay and select Free Download.
Note: you do not have to register your email address for free downloads on Pixabay. Simply choose the image you want, and you can download it.
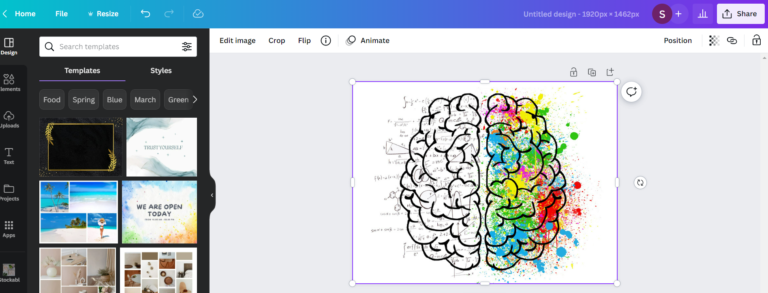
Step 2: Select Canva “Edit Image” button
The edit image button will automatically open the design within Canva.
Note: this typically works best if you have a second tab already open and signed into Canva.
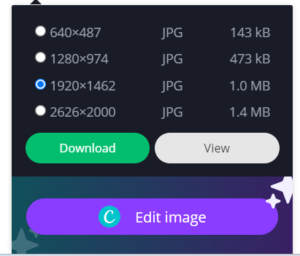
Step 3: Resize your image within Canva
Now that you have the image in Canva, it is easy to use their built in resize features to create an image in the size that you need. Canva has pre-set sizes for various social media platforms. You can also re-size to any custom size you wish to use.
Click on Resize in the main menu. This allows you to adjust the height and width of the image.
Step 4: Choose the new dimensions for your image
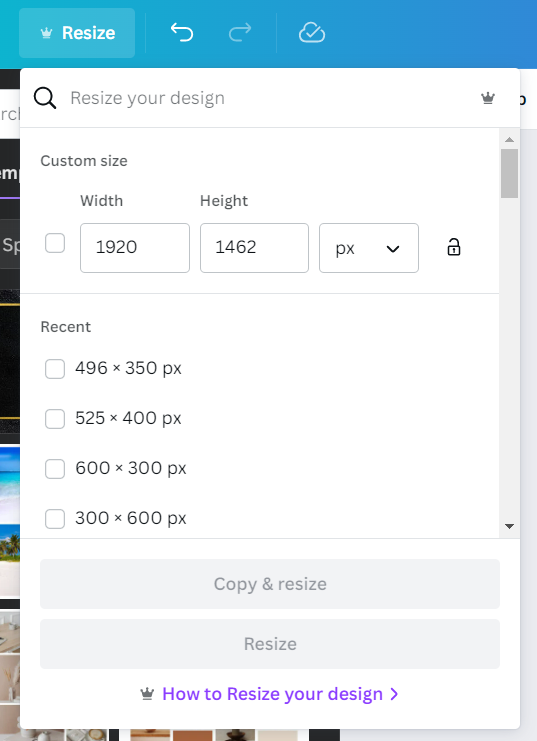
You may want to keep the aspect ratio that originally came as part of the design. If you want the same aspect ratio in your design, click the lock next to the Custom size line. Now you can adjust the height or width simply by typing in their respective boxes.
In addition to custom sizes, you are also able to select any of the standard image sizes available from Canva, such as Instagram post size. This may come in handy later in case you need to adjust any images used in the blog as part of your social media campaigns.
Once you have set your dimensions you can either click the “Resize button” to adjust this design, or the “Copy & Resize” button to create a new design with your new custom size. Now you can download the image and insert into your blog post.
There you have it! Four easy steps to taking an image from Pixabay and adjusting in Canva. Now you can spend more time focusing on your writing.
Interested in a subscription to the magazine?
Interested in a digital or print subscription to our quarterly magazine? Or are you interested in reading back issues of the magazine?
