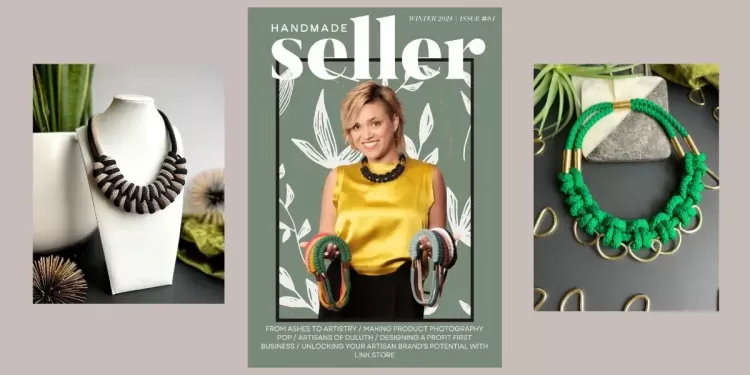
Creating consistent designs just got easier
* Some articles may contain affiliate links for researched products. There is no extra cost to you and it helps pay for boring stuff like website hosting and plugins.
Do you struggle to be consistent with your social media postings? Does it seem hard to make sure you are getting all the details right?
One of the struggles we faced in bringing the publication back to life was getting into a routine of structured designs for social media.
“How do you simplify and standardize the social media image creation process?”
The first designs I made took me hours. I found myself thinking, “why is this so hard?” When I would create social media posts that it feels like there were a hundred decisions to make. It sometimes lead to make mistakes on our posts as it was just so manual. What font should I use, what colors make the most sense? This was leading every design to be its own little project. I knew there had to be a better way to do this.
From having owned other companies in the past, I know it is important to have your branding in place. It allows for a consistent approach to how you create content. There is also the importance of not confusing the marketplace. Inconsistent look and feel is confusing for customers. I could go on and on. My head knows ALL the reasons you do this.
And then those reasons smack up against something practical- time and process. Every small business is time pressed, and trying to stretch and maximize each minute. There are more things to do than we can get done in a day, right?
For Handmade Seller, we decided it was time to create a brand kit to start the simplification process. Just last week, Canva announced a number of new features and enhancements for their Brand Hub. We’ve included details showing the latest and greatest they have to offer to help you create a consistent brand for social media.
Note- there are options for both free and paid users on the Canva brand kit. You can start with the free level, and more limited options and decide to upgrade later if it makes sense. The free level has a more limited number of colors in the color palette for example.
The “Brand” options we are showing are available as part of the paid tools within Canva. You can manage several brands from within the same subscription for Canva. This makes it great if you have multiple brands that you sell. It is not unusual to end up with different brands depending upon who you are targeting and your markets. It’s nice to have it all in one spot.
Creating your Brand Kit in Canva
In 3 easy steps you can set up your Canva brand kit. If you want a sneak peek- here is how it works. Beginning at the main menu in Canva, select the Brand Hub:
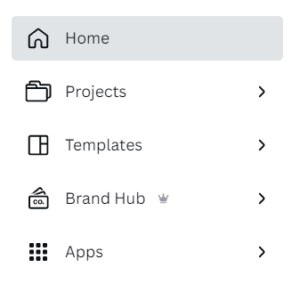
Step 1: Add New Brand Kit to Canva

Select the Add new button to create a new kit. We created My Sample Brand Kit to show you how this works.
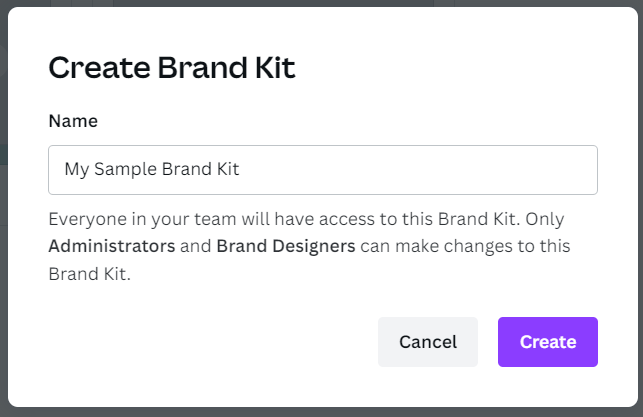
Step 2: Add Logo, fonts, and colors to your Brand Kit
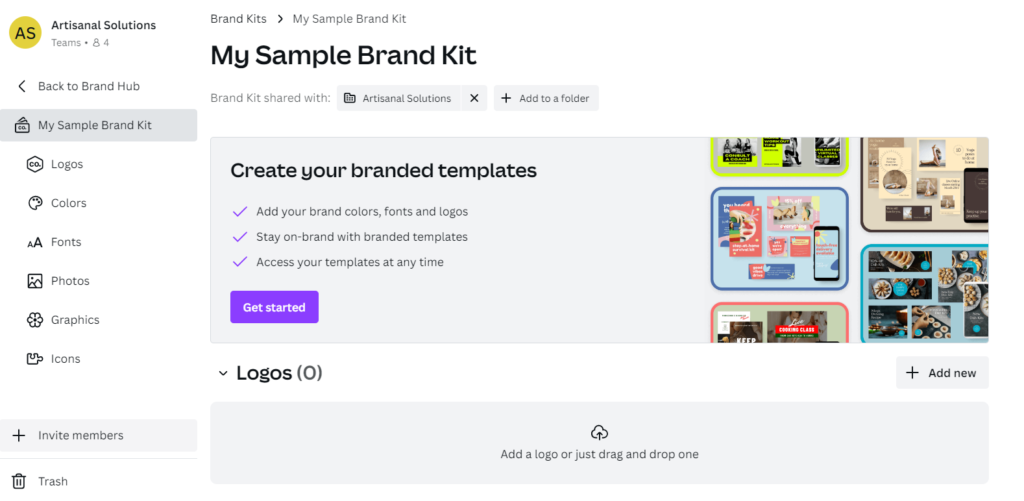
You’ll find all the options for the brand kit in this main screen. You can either scroll down to get to the individual sections, or select them on the left menu.
First add any and all different variations of your logo to the logos section. It’s as easy as dragging in or uploading all the different variations of your logo that you want to use. Upload all the different variations of your logo that you have, including those with different colors. This will simplify the next step for adding your color palette.
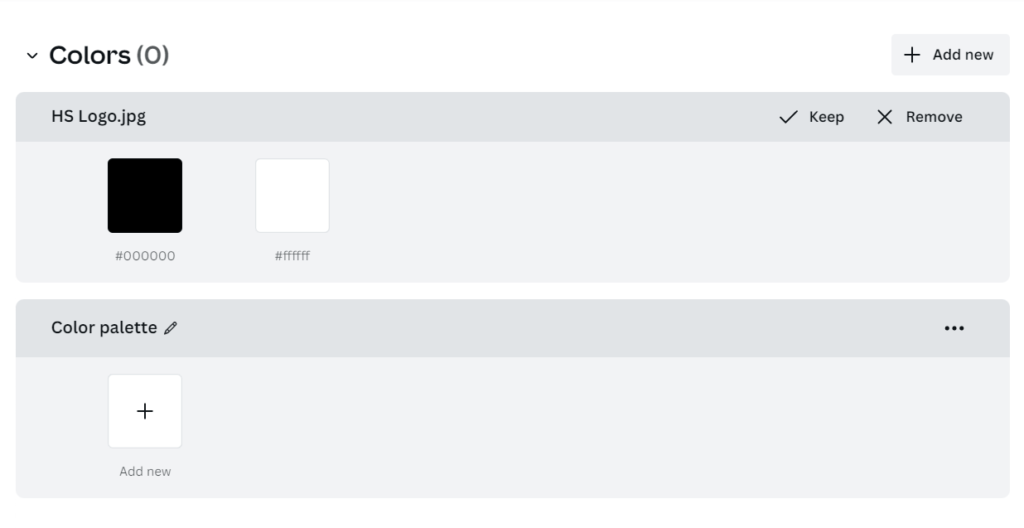
Canva will automatically start the process for you by including the colors from the logo or logos you upload. Choose Keep or Remove for your logo colors. Then click the Add new button to add a color:
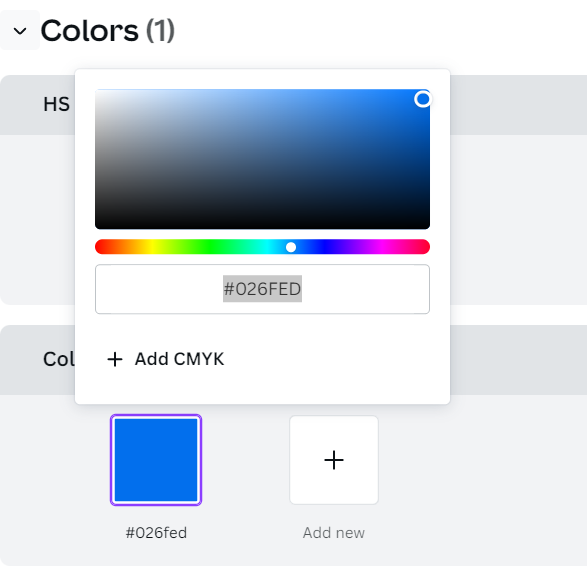
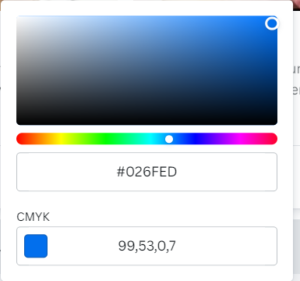
You can add them by hex code or CMYK code if you have that:
Finally, add your preferred fonts as well. As part of Canva’s recent enhancements, they have added a lot more choices for the different types of text that you can pre-set. Previous versions only allowed you to set Titles, Headings and Subheadings. But now a lot more choices are available depending upon what type of text you are using.
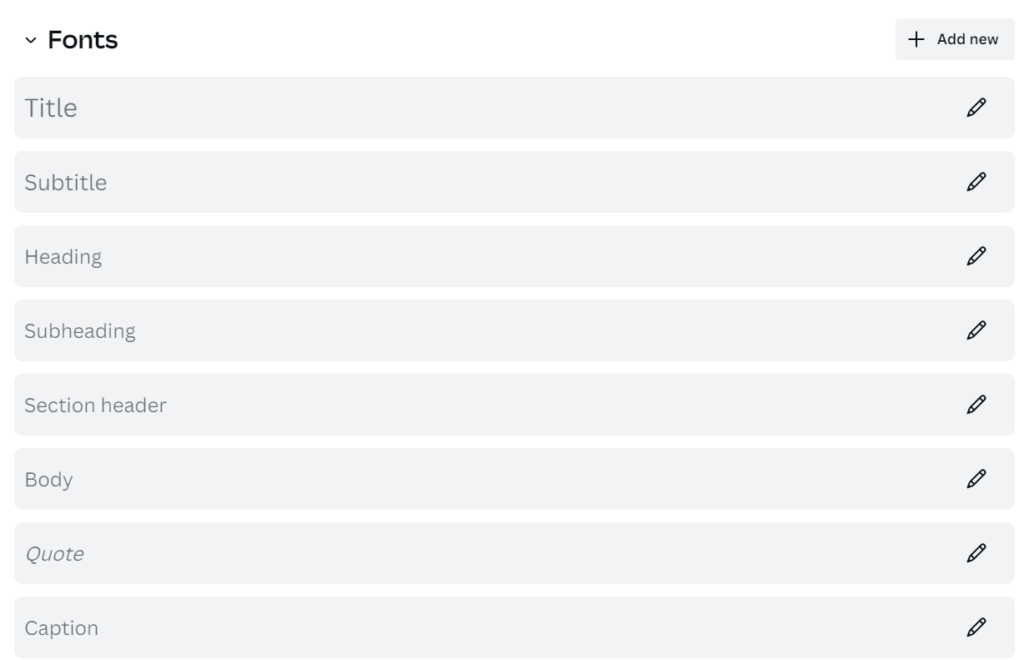
Adding a font is as simple as clicking into the individual line item and then setting the font for that type of item.
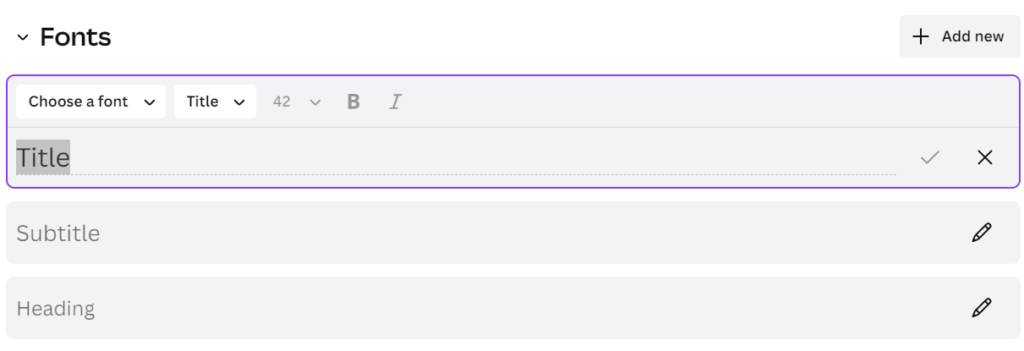

Once you select the item it is as easy as clicking the check box to save that option.
Note: You can even upload your own fonts if you had your own custom fonts created.
There is also now an option to add photo’s, graphics, and icons to use with your brand.
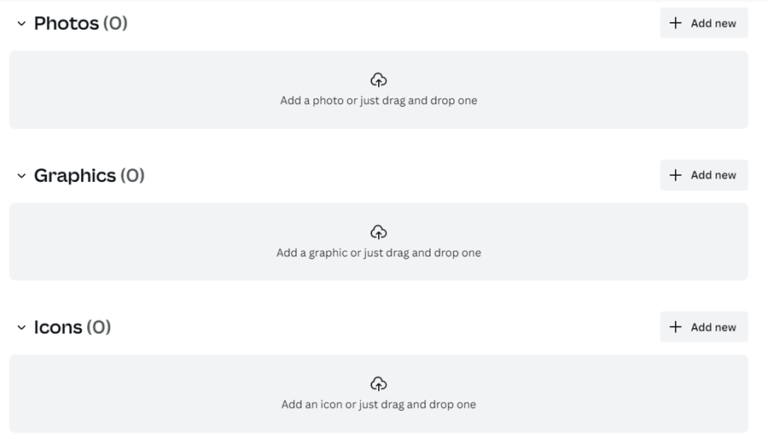
One final nice feature as part of all of this brand kit is that you save everything along the way as you go. As you add each individual section you save that section. If you are interrupted before you finish the whole kit, you don’t lose anything. You can always come back later and resume where you left off.
Step 3: Use Brand Kit in designs
Now that your brand kit has been saved, you can start to use it in designs. First, create a new Canva design. Say for example an Instagram post. Create your post.
Your blank canvas comes up and you can start working on your design. You can now incorporate all the settings easily within your design from the brand kit.

Navigate to Brand Hub on the left-side menu. Here you will see your Brand Kit choices and can incorporate them easily into your design. Your colors, font choices, logo’s etc. are all here now.
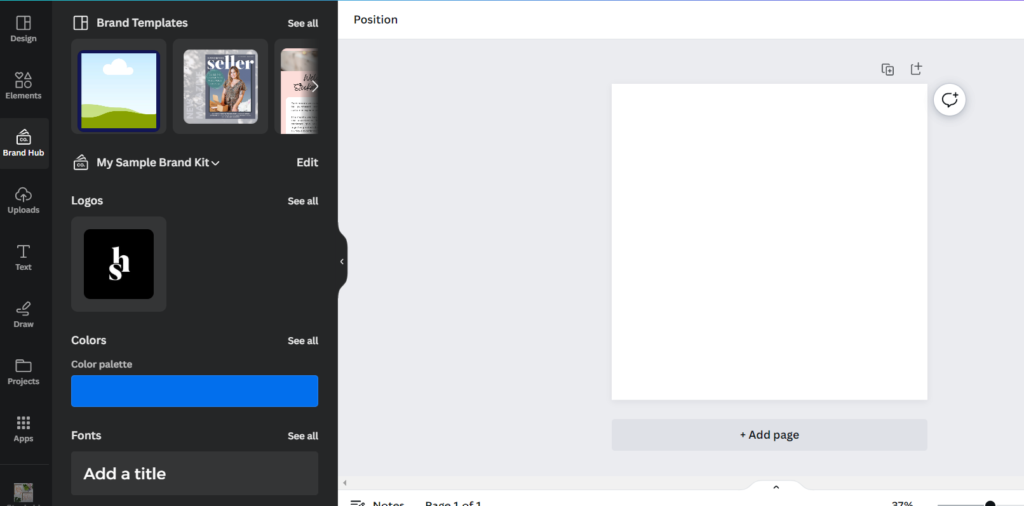
Now your designs can easily incorporate the standards for your brand kit to speed up your design process.
And there you have it! Three easy steps to creating and using a brand kit. Now instead of spending hours figuring out your color and fonts for your posts, you can create easily create a consistent look and feel for your designs.
Check out Canva if you want help simplifying your image creation by using a brand kit!
Interested in a subscription to the magazine?
Interested in a digital or print subscription to our quarterly magazine? Or are you interested in reading back issues of the magazine?
