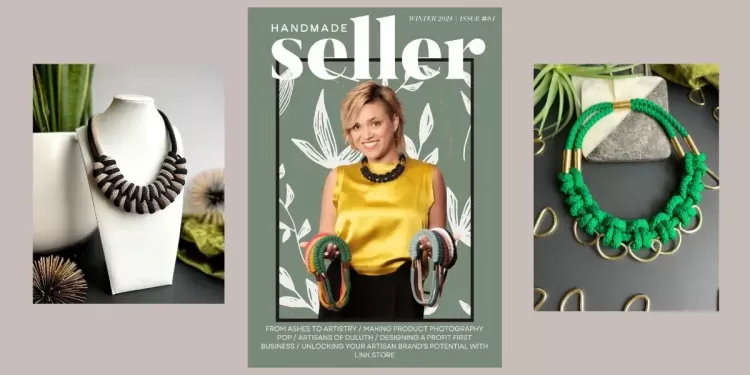
Our Etsy shops and Instagram feeds have to represent our handmade products in the best way possible. When someone comes across your feed or Etsy page, it’s similar to a real-life scenario of them walking into your shop as if it was a physical one. They instantly assess the value of your products by their first impressions of the shop.
Our product photos are one of the most important ways we can showcase our products in the online world. So, it is no surprise that they have to be of the highest quality to compete and really wow a customer during their first impressions.
Thankfully, taking product photos doesn’t have to be a tedious task, and you don’t require top-of-the-line equipment to take amazing images that serve a purpose. All you need is your phone and a little creativity. Follow this guide to learn how to take and edit photos for Etsy and Instagram simultaneously and effortlessly.
The Tools You Will Need
Lightroom Mobile App

I have learned over time that the Lightroom Mobile App is superior for taking photos compared to the built-in cameras on an iPhone or Android. This is thanks to the PRO feature that takes your photo in a completely unfiltered form, whereas built-in cameras usually saturate your photo more than reality. Lightroom Mobile is free for all iPhone and Android users. We will be using this app to take the initial shots.
Lightroom Presets

When we get to the editing stage, we will be using a Lightroom preset of your choice. Lightroom presets are a group of filters that you can purchase and easily install straight into your Lightroom app. This allows you to edit your photos with one tap and keep the same filter throughout all of your photos which helps your feed appear consistent and aesthetic.
I have been using these presets from a fellow Etsy seller who offers a wide variety of very affordable presets. You can choose filters that bring out more earthy tones, are more bright and airy, or are natural. I use the natural presets because they don’t change the colors of my products too much, which helps the buyer know exactly what they are purchasing.
Once you purchase a preset pack, the seller will send you an easy-to-follow PDF that tells you how to install the presets straight into Lightroom.
Your Photography “Set”
Think of your photography set as a mini photoshoot setup. For this, you will need a whiteboard that you can purchase at an office supply store or even a dollar store! Be sure to buy one with a matte finish and not a glossy one to avoid glares in your photos.
Also, use any props that you think will compliment your products. Choose around five props that are within the same color scheme and that have different textures. Different textures will bring more dimension to your photos. You will use these props interchangeably so all of your photos don’t look too similar, as this can tend to bore your Instagram followers since they will be seeing the same thing over and over again.
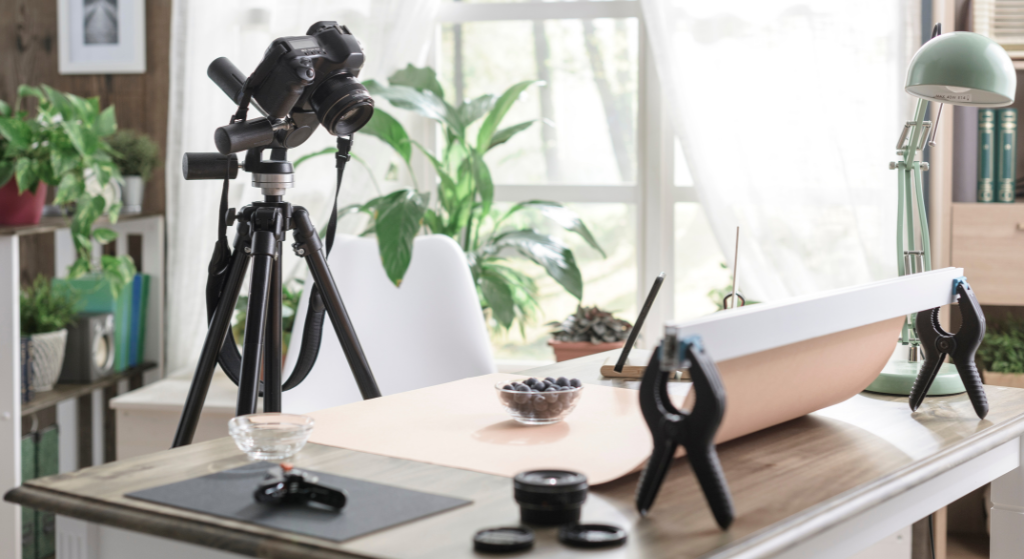
A Few Tips About Props:
- Look around your house first for any props that might work.
- Ensure that the props make sense for your product and your target customer.
- Check local second-hand shops for interesting props that may not be so mainstream and will help your photos stand out and gain character.
- Look online for any DIY props. These paper palm leaves are a great idea.
Last but not least, your photography set has to have natural lighting and not fluorescent lighting! Lay your whiteboard and props in the brightest space within your home. The best time to take photos is early in the morning. This is when the light is the softest, which will bring a gorgeous atmosphere to your photos. If not possible, aim for the late afternoon. Any time during mid-day, the lighting will be too direct and harsh, creating distracting shadows.
PRO TIP: If you want to save your back during this process, set up your photography set on a table or ironing board in the area with the best lighting. If you take your photos on the floor, you will constantly be crouching and slumped over, which can cause some serious back pain and might make you want to cut the photography session short.
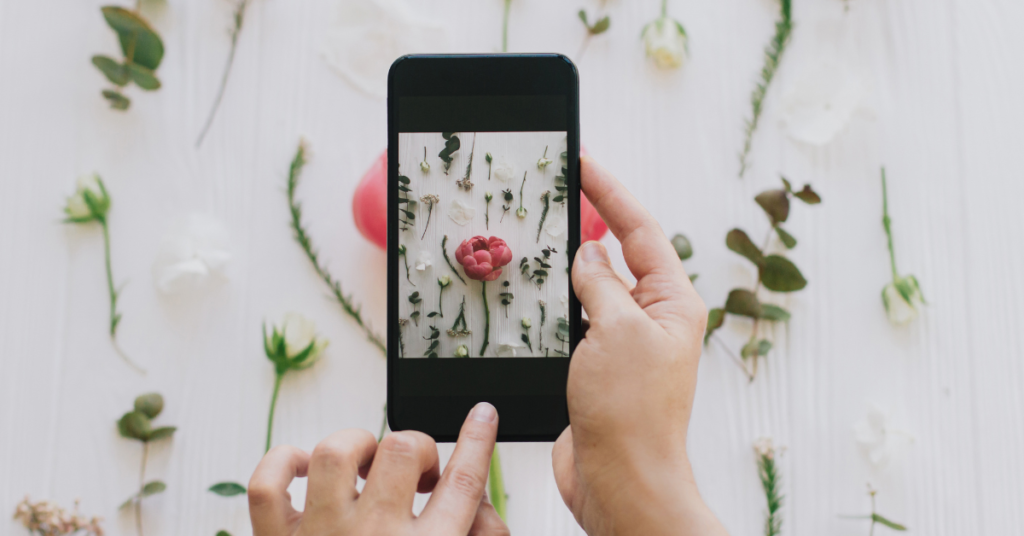
Process of Taking the Photos
Now that we have everything we need and our set is placed in a bright area of your house (hopefully not on the floor), we are ready to start taking the photos!
Setting Up Your Lightroom Camera for Photos
- Locate the camera button in the bottom right corner.
- On the left side of the “take photo” circle button, switch the mode to “PRO.”
- At the top, you will see a ratio option; switch this to 1:1 for Etsy photos and 4:3 for Instagram photos.
- Align where you would like your products to be in the photo.
- Do not take the photo yet. At the bottom, press “WB” and select the eyedropper at the very right, this creates a custom white balance.
- Fill the square with a neutral surface and press the checkmark at the bottom.
- You are now ready to take the photo!
As you will notice, your photos will look exactly how they appear in real life, no extra saturation or sharpening. The lighting tends to be perfect because of the custom white balance you configured with the eyedropper.
The Workflow
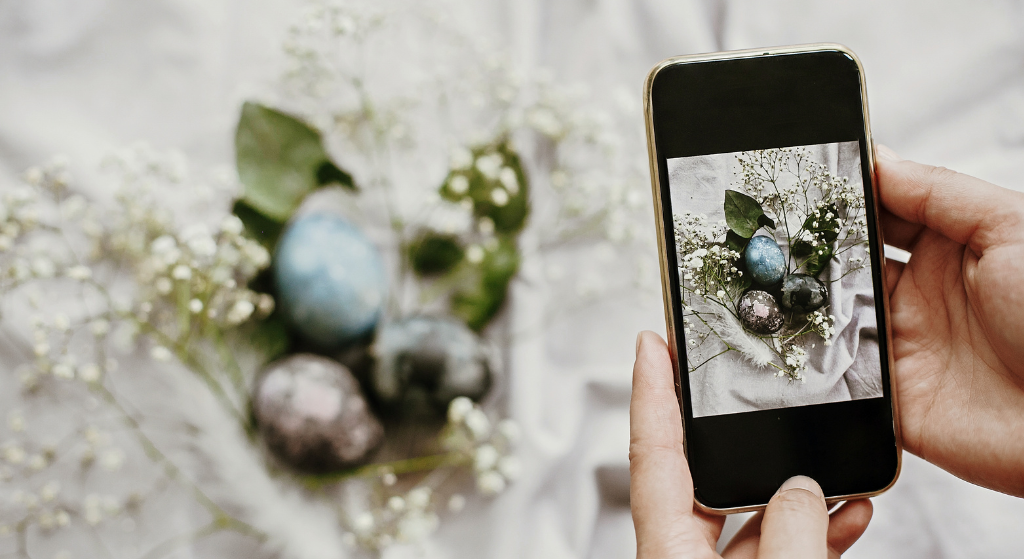
Etsy allows you ten photos and one video for each product, so you might as well take advantage of that and use all that is available. All Etsy photos use the 1:1 ratio, and Instagram allows the 4:3 ratio. So, for each step, take one photo in 1:1 and one photo in 4:3. To streamline this process as efficiently and fast as possible, follow these steps:
- Take a front-facing photo of your product.
- Spin the product clockwise and take a photo of the right side.
- Keep spinning the product and take a photo of the back.
- Spin again and take a photo of the left side.
- Take a photo from the top as a flat lay.
- Hold the product up and take a photo of the bottom.
- Take four lifestyle photos of the product in use and with different props than the original first six photos.
- Take one video that either shows the product in use or shows you picking up the product and delivering it from all angles.
- If you want to take any other photos for Instagram, do so now and remember that you have more creative freedom when it comes to Instagram.
This process of taking photos mimics what a potential buyer would do if they physically were picking up the product. When you are in a store, and you see something you like, you pick it up and see it from all angles. This is essentially what we are doing with this process.
Once you have all of your photos taken for each product, you can move into the editing stage! Good job! You’re almost done!
PRO TIP: The rule of three, used in design and photography, states that the human eye is more attracted to objects arranged in odd numbers. If you have one product in your photo, use two props that compliment the product and the photo to satisfy this design rule.
Fast and Easy Editing
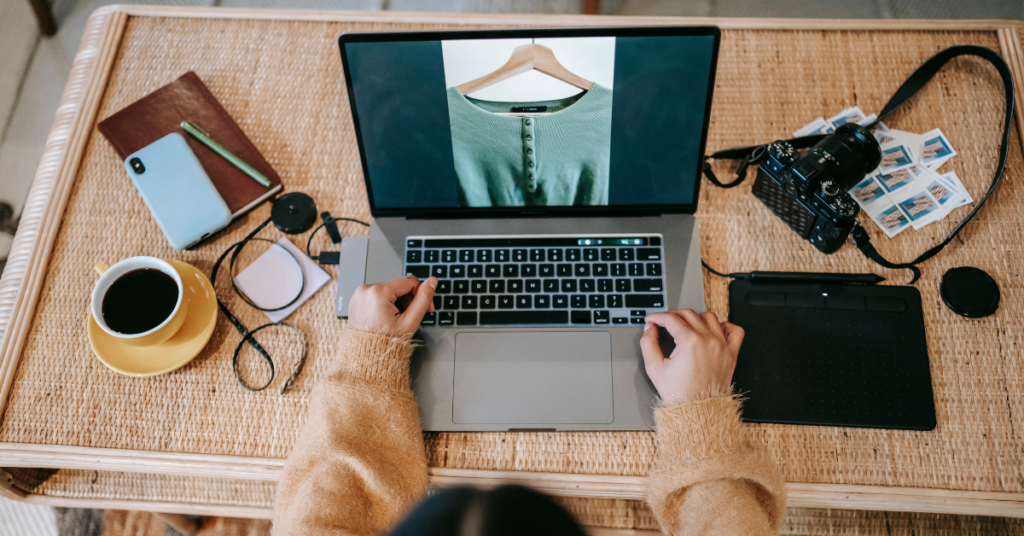
Now that you have all of the photos you need, it’s time to quickly edit them to ensure they are all cohesive and looking their best. Again, follow these steps for a quick and easy workflow:
- Open a photo and press “auto” at the bottom. This initially adjusts the photo to balance out all the colors and the lighting.
- Go to “presets,” which is directly to the left of “auto.”
- Choose the preset group that you created while installing your chosen preset.
- If your preset comes with more than one filter, choose the one that you believe suits your photo the best. It is okay to use different filters as long as they are all within the same preset group since they all follow the same settings and will look alike.
- Export your photo to your camera roll by pressing the button in the top right corner that looks like a square with an arrow coming out of the top, then press “export to camera roll.”
- Your photo will now appear in your camera roll.
Continue this process with all your photos, and eventually, you will have photos ready for Etsy and Instagram!
Although I mentioned this was an effortless process, it indeed takes some effort and it is okay to feel exhausted after it all. However, remember to not rush through this process and try to enjoy it as much as possible. If you feel like you are getting tired after a few products, take a break, sip some coffee, and come back with a fresh eye and attitude.
Your photos are the only thing you have that really capture the essence of your shop and value of your products. The more time and effort you put into your photos, the further your potential buyers will be encouraged to make a purchase from you.
Happy photo-taking, makers!
Interested in a subscription to the magazine?
Interested in a digital or print subscription to our quarterly magazine? Or are you interested in reading back issues of the magazine?
